Your First Lightning Web Component is easier to build than most people expect. In about fifteen minutes, you can generate the files, add a text box and a button, deploy the bundle and see it working on a Lightning page. This post walks through every step, so you finish with a real component instead of just theory.
In this post, we build a small “course greeting” component for Bright Path Tutors. You will use VS Code, the Salesforce CLI and Lightning App Builder. It builds on Lightning Web Components basics, Salesforce CLI and VS Code setup and deploying with the CLI.
What is a First Lightning Web Component Project?
A First Lightning Web Component project is the smallest complete LWC: one folder with an HTML template, a JavaScript class and a metadata file. It reacts to user input, so you see how data flows between the template and the class. Once you understand this loop, every bigger component follows the same pattern.
Building a First Lightning Web Component is like learning to cook with a simple omelette. It uses only a few ingredients, but it teaches heat, timing and flipping. After that, harder dishes feel familiar. This component is your omelette.
Why Building Your First Lightning Web Component Matters
Reading about LWC only goes so far. Here is why building your First Lightning Web Component matters.
- First, you learn the real folder structure of an LWC bundle.
- Also, you practise the deploy cycle you will use every day.
- Next, you see how a click changes data and the screen updates.
- You learn where components appear in Lightning App Builder.
- Finally, you get a working base to copy for later components.
So your First Lightning Web Component gives you the full development loop.
How the First Lightning Web Component Workflow Works
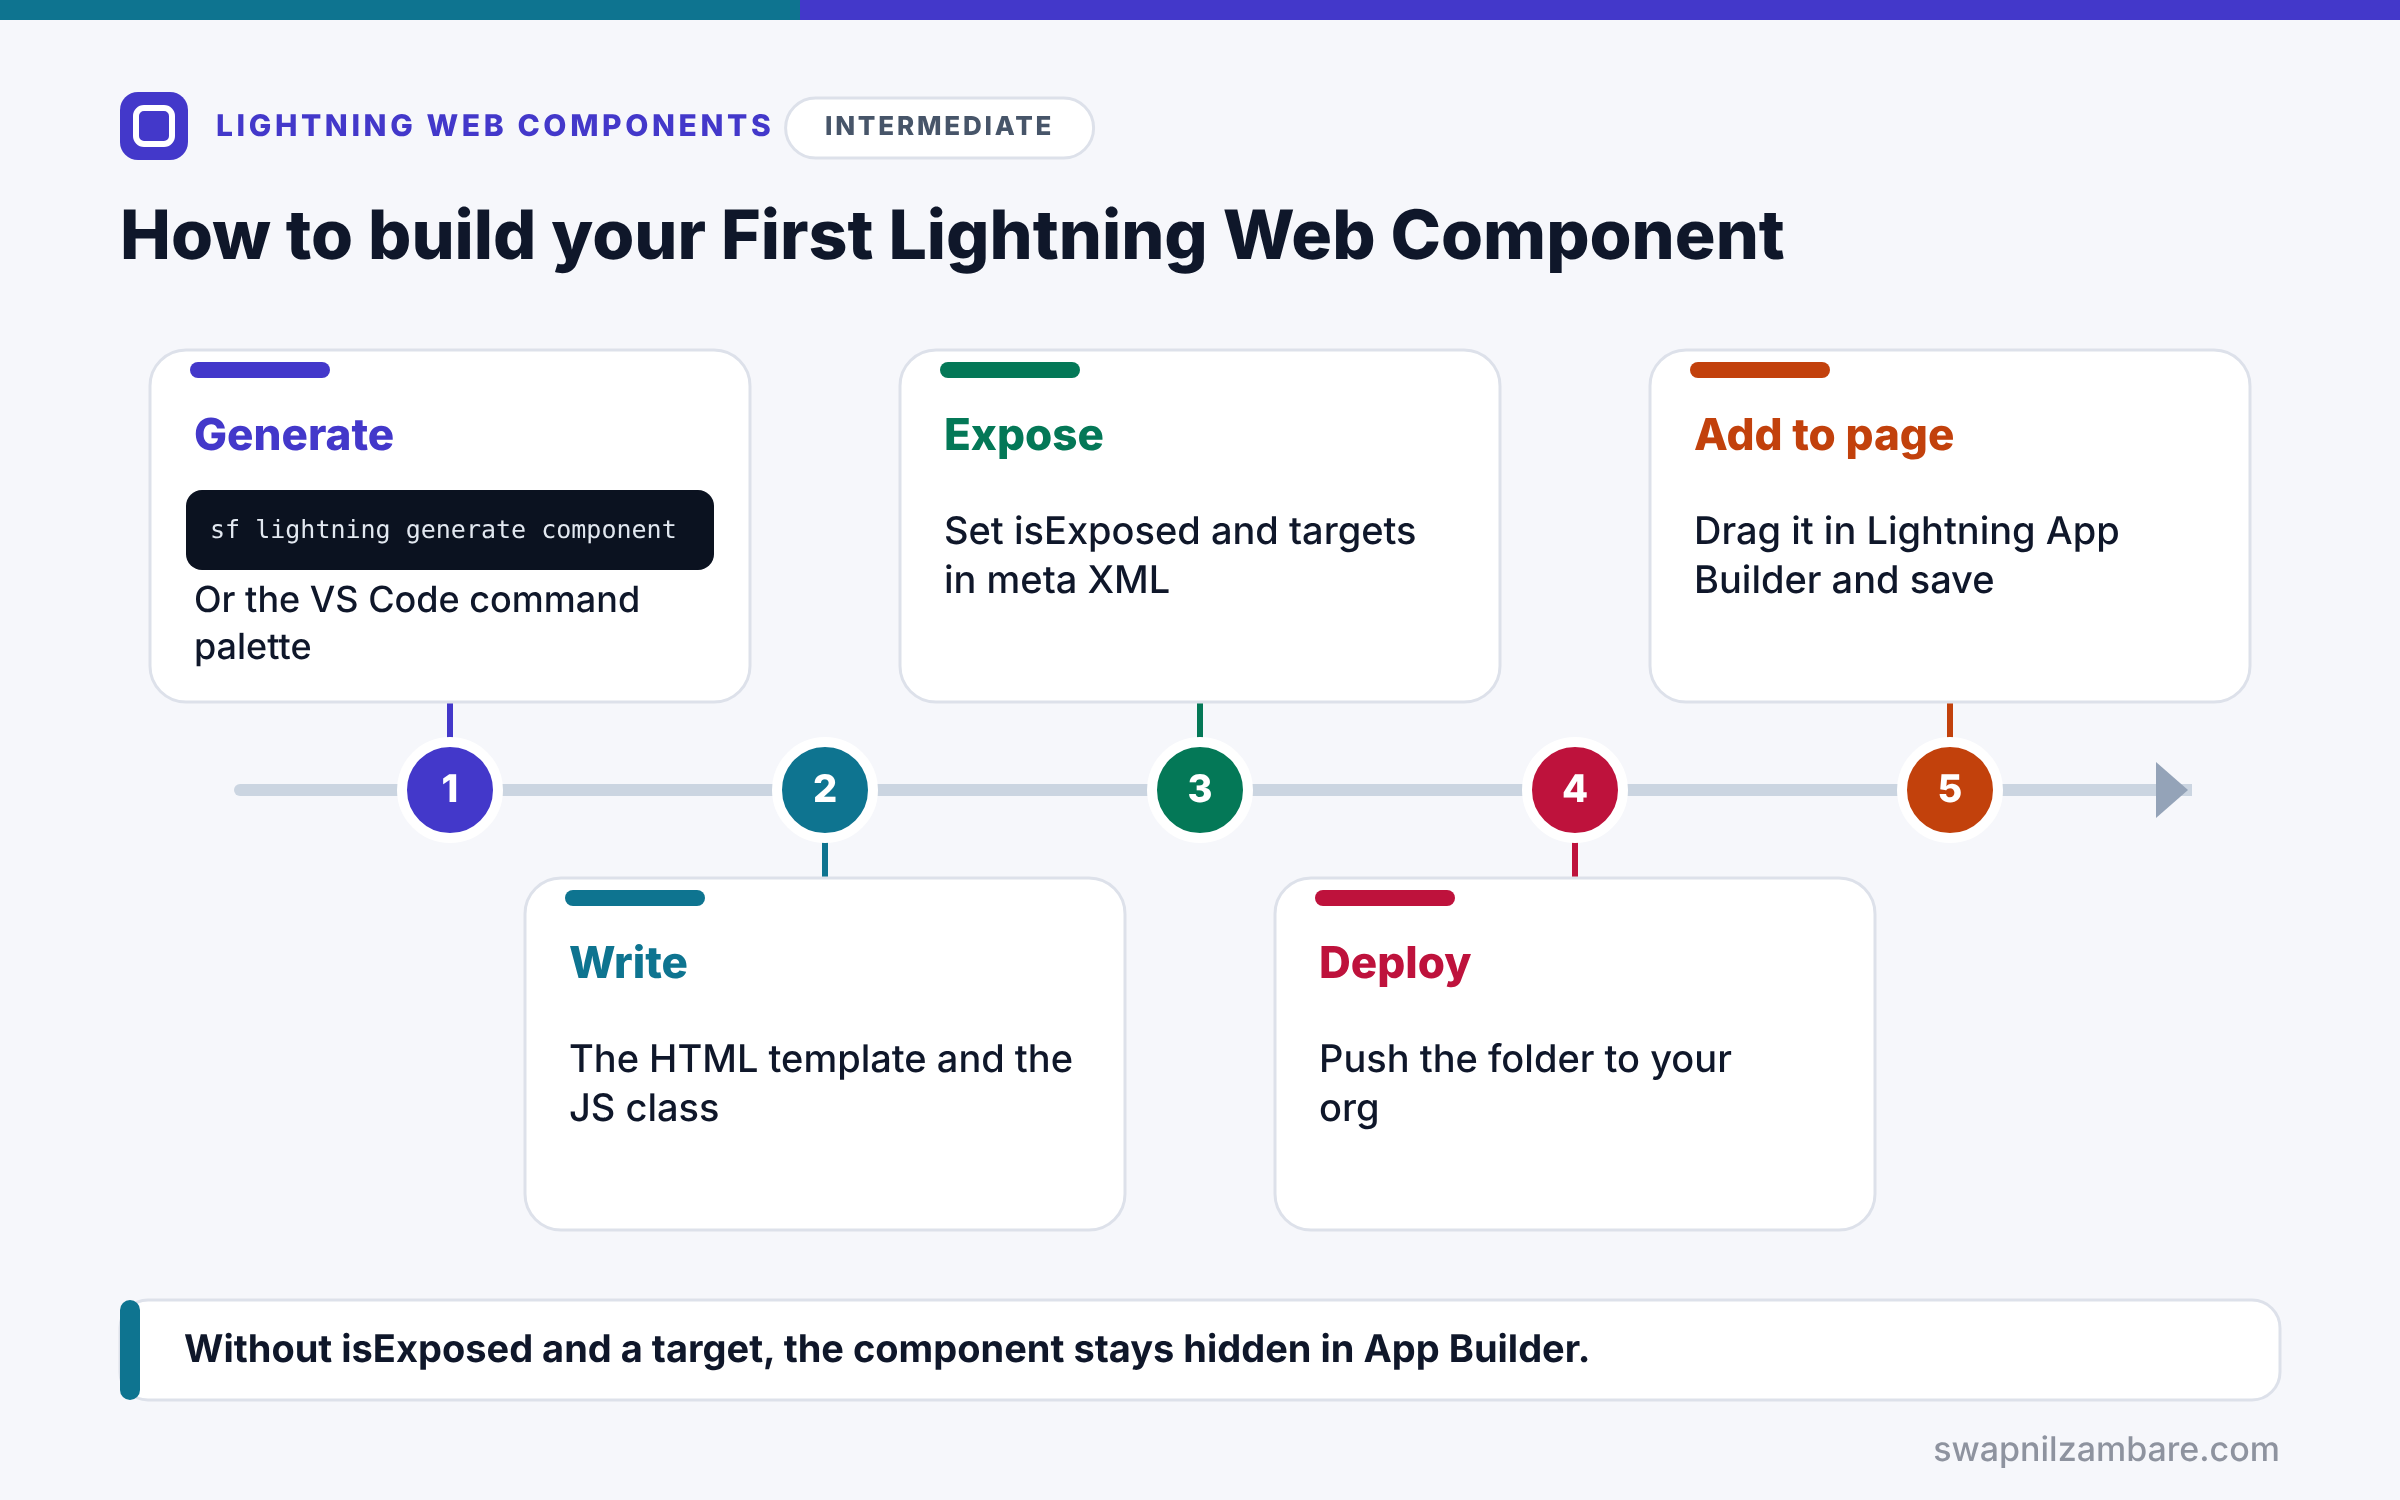
The workflow has five steps. First, you generate the component bundle with the CLI or the VS Code command palette. Next, you write the template and the JavaScript class. Then you set isExposed and targets in the metadata file. After that, you deploy the folder to your org. Finally, you open Lightning App Builder, drag the component onto a page and save.
Generate the Bundle
The command sf lightning generate component creates the folder and starter files. In VS Code, the command SFDX: Create Lightning Web Component does the same.
Write the Template
The template shows values and listens for events, such as onchange on an input and onclick on a button.
Write the Class
The class stores data in fields and changes them in handler methods. When a field used in the template changes, LWC re-renders that part.
Expose the Component
isExposed true and at least one target make it appear in App Builder.
Deploy and Place
Deploy with sf project deploy start, then place the component on a page.
Commands You Will Use
The table below lists the commands for this build.
| Task | Command or menu |
|---|---|
| Create the bundle | sf lightning generate component –type lwc |
| Deploy one component | sf project deploy start –source-dir path |
| Open the org | sf org open |
| Add to a page | Setup > Lightning App Builder |
Field Update vs Page Refresh
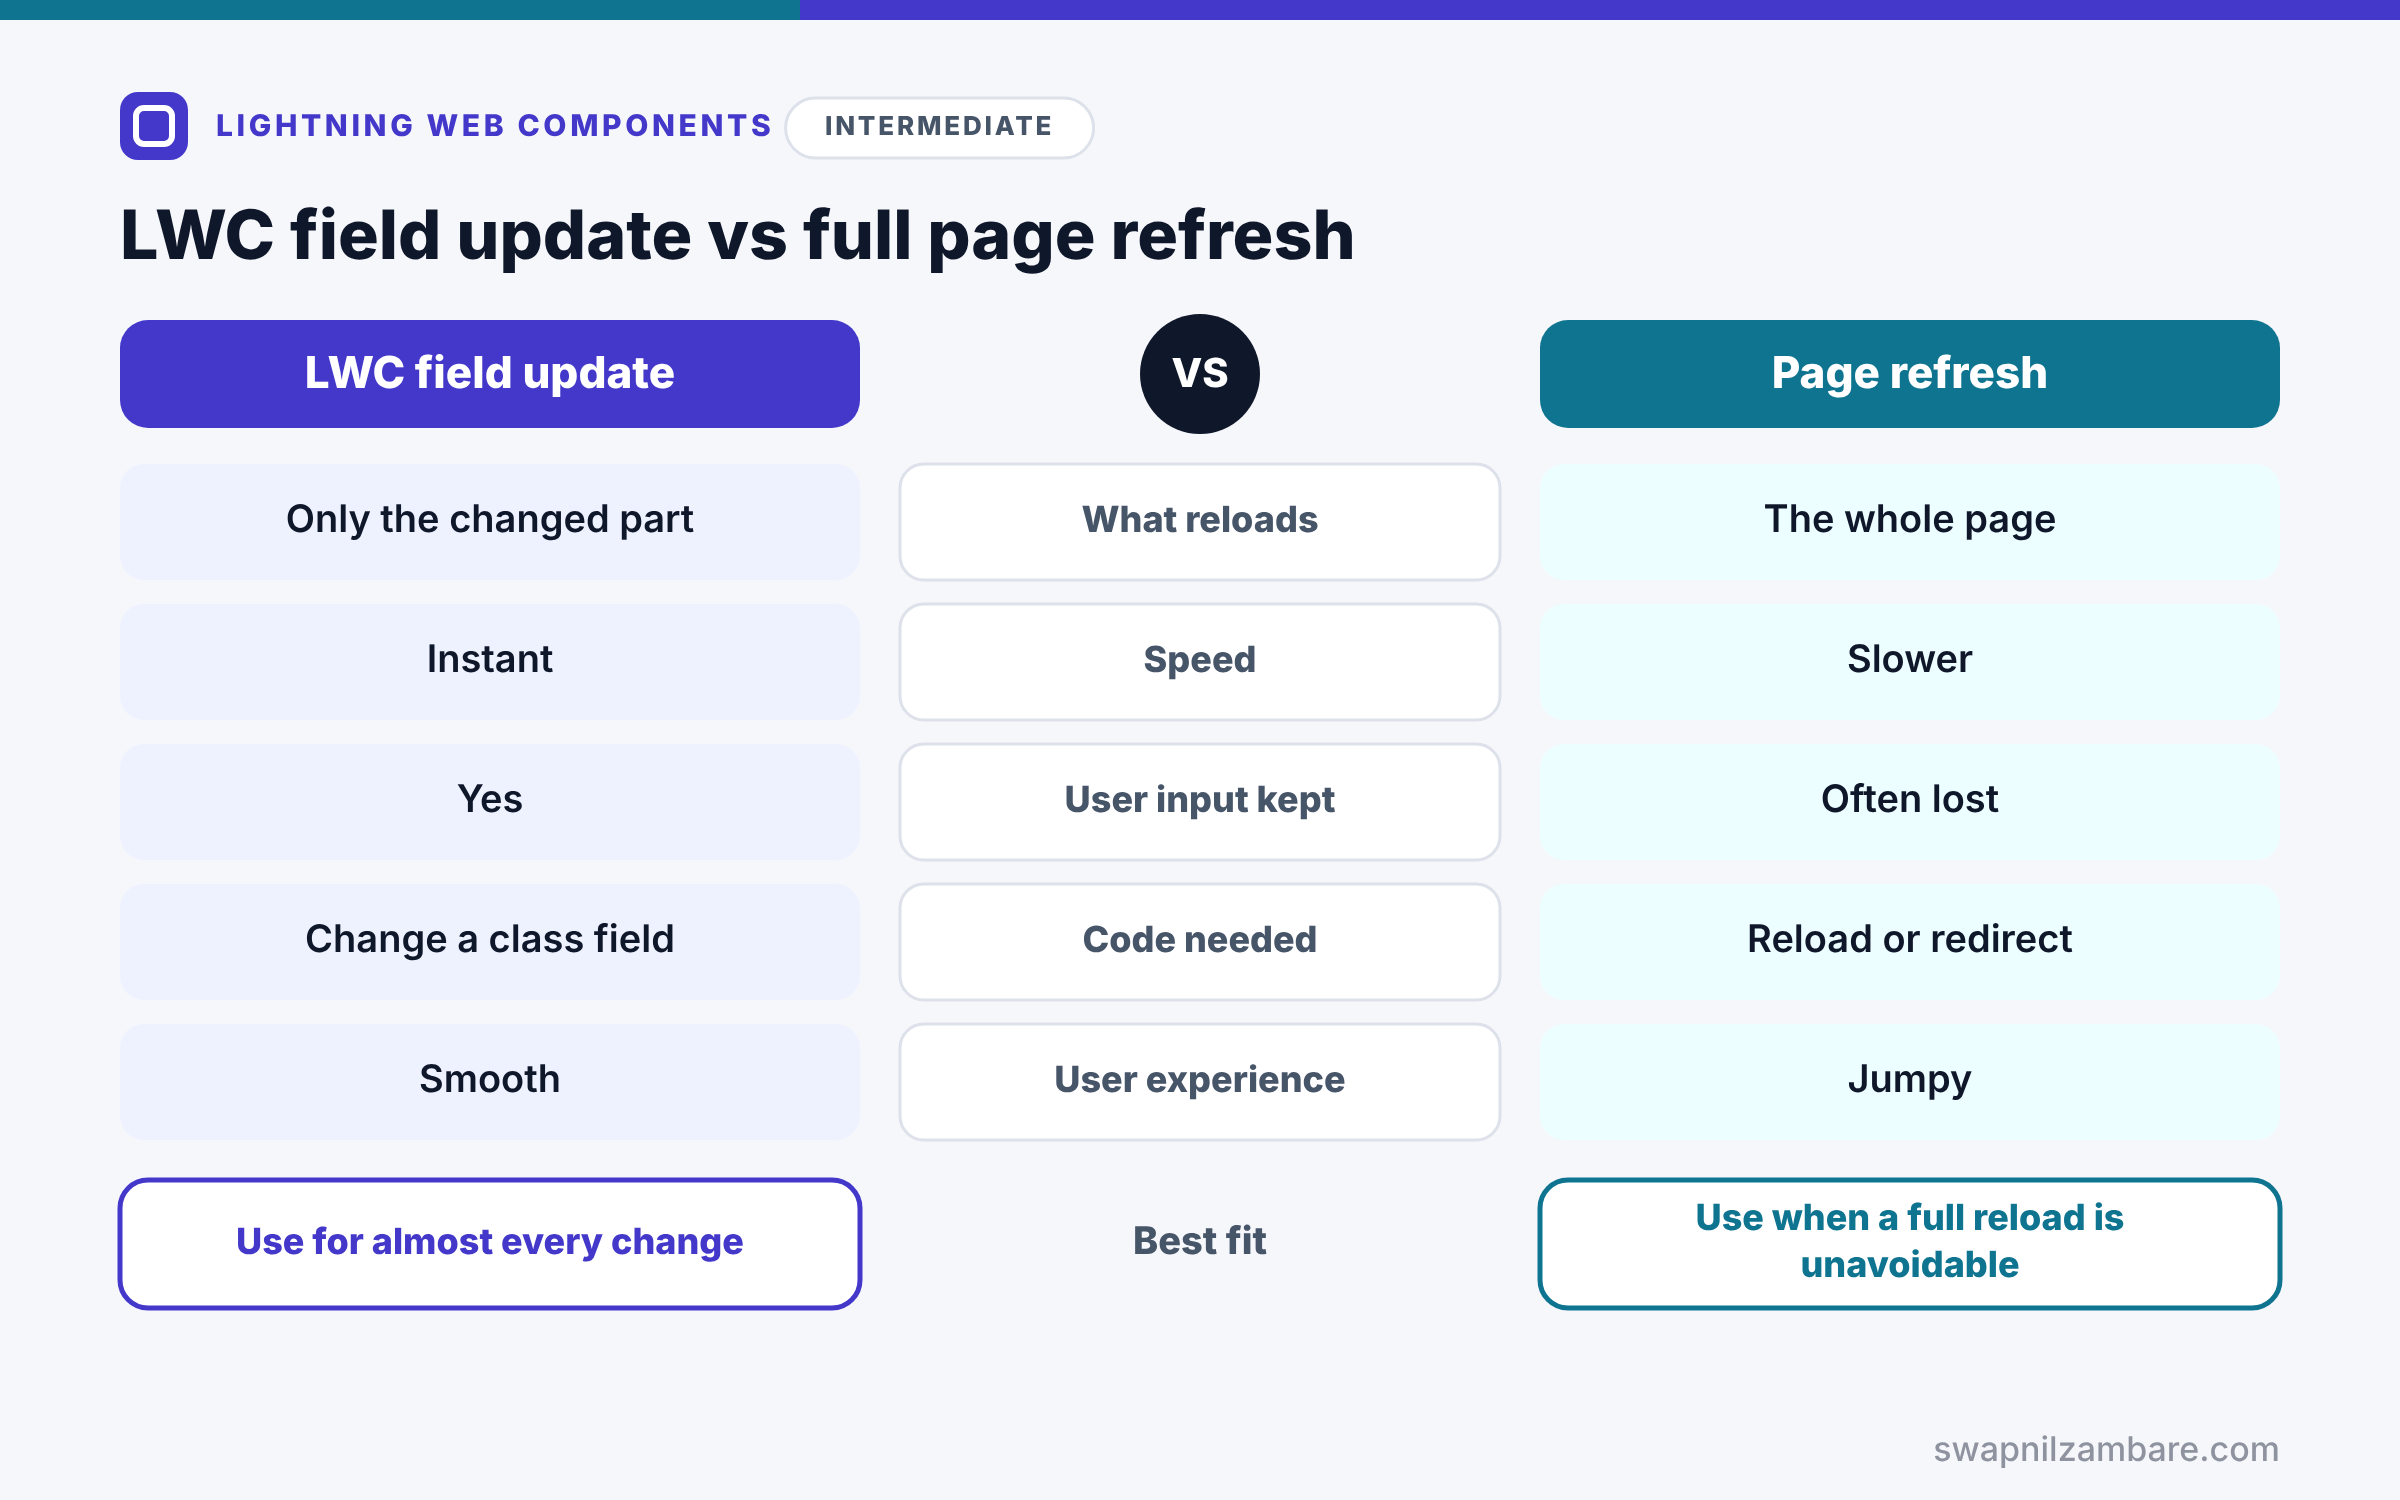
The table below compares how LWC updates the screen with an old-style full page refresh.
| Feature | LWC field update | Full page refresh |
|---|---|---|
| What reloads | Only the changed part | The whole page |
| Speed | Instant | Slower |
| User input kept | Yes | Often lost |
| Code needed | Change a class field | Reload or redirect |
| User experience | Smooth | Jumpy |
When to use which is clear. In LWC, you almost never refresh the page. Instead, change a field and let the framework update the screen.
A Real First Lightning Web Component Example
Let’s build the First Lightning Web Component for Bright Path Tutors. A tutor types a name, clicks a button, and sees a welcome message.
Step 1: Generate the Files
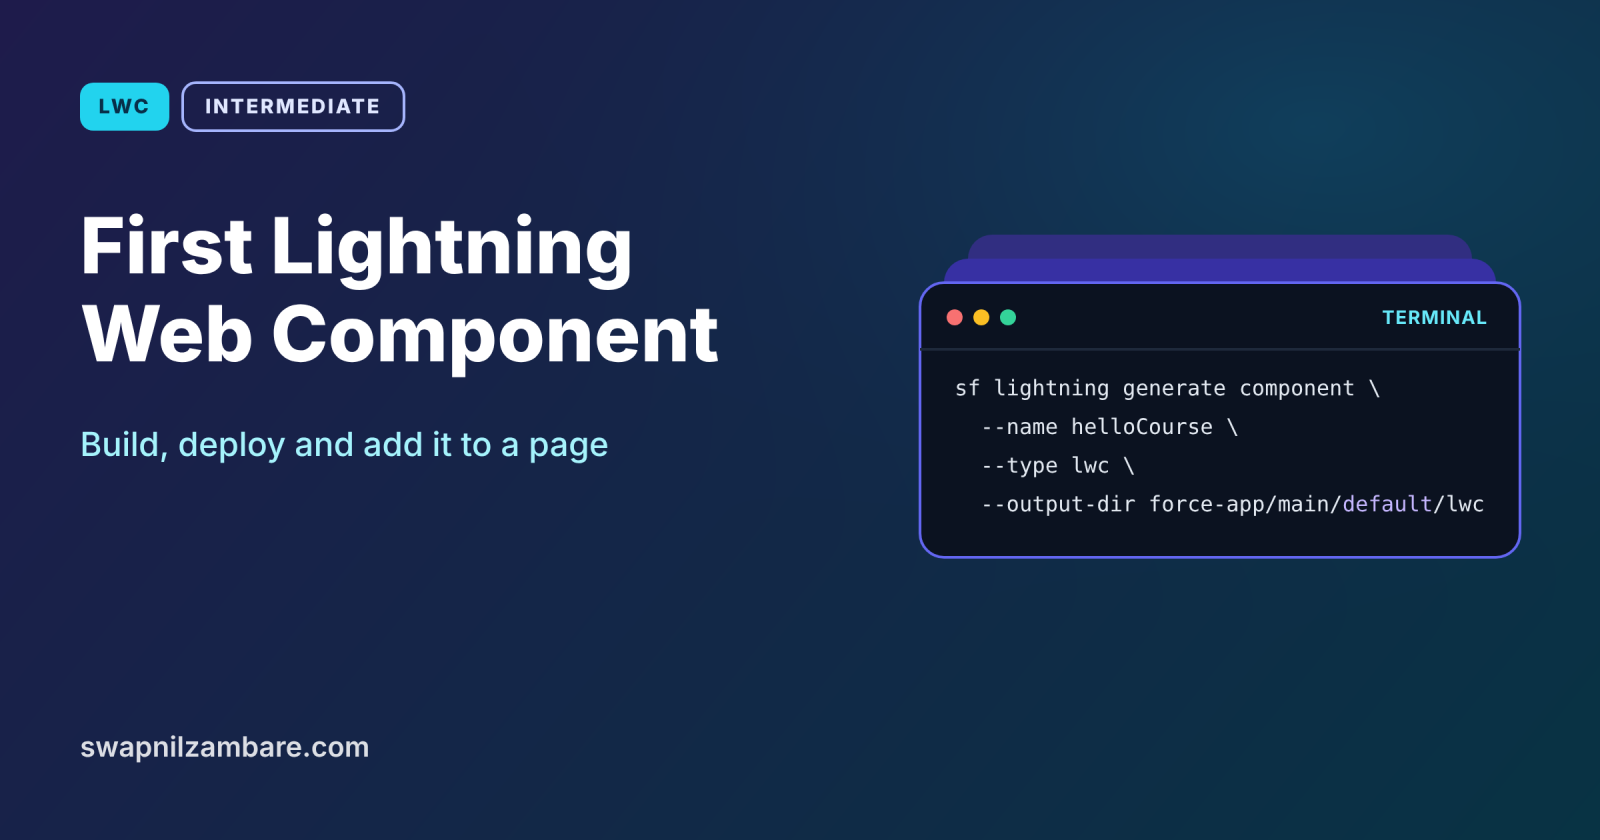
sf lightning generate component --type lwc --name courseGreeting --output-dir force-app/main/default/lwcThis creates the courseGreeting folder with an HTML file, a JavaScript file and a .js-meta.xml file.
Step 2: Write the Template
<template>
    <lightning-card title="Bright Path Tutors" icon-name="custom:custom63">
        <div class="slds-p-around_medium">
            <lightning-input label="Tutor name" value={tutorName}
                onchange={handleNameChange}></lightning-input>
            <lightning-button class="slds-m-top_small" variant="brand"
                label="Say hello" onclick={handleGreet}></lightning-button>
            <p class="slds-m-top_small">{message}</p>
        </div>
    </lightning-card>
</template>
The input shows tutorName and calls handleNameChange when the text changes. Then the button calls handleGreet, and the paragraph shows the message.
Step 3: Write the Class
import { LightningElement } from 'lwc';

export default class CourseGreeting extends LightningElement {
    tutorName = '';
    message = 'Type your name and click the button.';

    handleNameChange(event) {
        this.tutorName = event.target.value;
    }

    handleGreet() {
        this.message = this.tutorName
            ? `Welcome, ${this.tutorName}! Your courses are ready.`
            : 'Please enter your name first.';
    }
}
handleNameChange copies the input value into tutorName. Then handleGreet builds the message. Because message is a class field used in the template, the screen updates by itself.
Step 4: Expose, Deploy and Place
Set isExposed to true and add the lightning__AppPage and lightning__HomePage targets in courseGreeting.js-meta.xml. Then run this command.
sf project deploy start --source-dir force-app/main/default/lwc/courseGreetingNext, go to Setup > Lightning App Builder > New > App Page, drag courseGreeting from the Custom section, save and activate.
Step 5: Try It
Here is what Asha Mehta sees after typing her name and clicking the button.
Welcome, Asha! Your courses are ready.The message changes instantly, with no page reload, so your First Lightning Web Component works.
First Lightning Web Component Naming Rules
Folder and file names use camelCase, such as courseGreeting. In markup, the same component becomes c-course-greeting. Names must start with a lowercase letter and cannot contain hyphens or double underscores.
Common Mistakes with Your First Lightning Web Component
- Forgetting isExposed, so the component is missing in App Builder.
- Naming the folder and files differently.
- Changing a field outside the class and expecting the screen to update.
- Using a hyphen or capital letter at the start of the folder name.
- Deploying the whole project when only one component changed.
Best Practices for Your First Lightning Web Component
- Generate bundles with the CLI so names stay consistent.
- Use base components such as lightning-input and lightning-button.
- Keep handlers short, with one job each.
- Deploy only the folder you changed while learning.
- Commit your work to Git after each working step.
Practice Task
Add a second button called Clear that resets tutorName and message. Hint: create a handleClear method that sets both fields back to their starting values.
Most Asked Interview Questions on Your First Lightning Web Component
Beginner LWC questions often follow this exact build. Here are the 21 questions asked most about building your First Lightning Web Component.
Basic Questions on Your First Lightning Web Component
Q1: How do you create an LWC from the CLI?
Run sf lightning generate component with –type lwc and a component name.
Q2: Which files does the generator create?
It creates an HTML file, a JavaScript file and a .js-meta.xml file.
Q3: How do you handle a button click?
Add onclick={handlerName} on the button, then write that method in the class.
Q4: How do you read the value of an input?
Use event.target.value inside the change handler.
Q5: How does the screen update after a change?
LWC re-renders automatically when a field used in the template changes.
Q6: How do you make the component appear in App Builder?
Set isExposed to true and add targets in the metadata file.
Q7: How do you deploy one component?
Use sf project deploy start with –source-dir pointing to the component folder.
Code and Scenario Questions on Your First Lightning Web Component
Q8: What is the markup name for courseGreeting?
It is c-course-greeting, because markup uses kebab case.
Q9: Can a folder name start with a capital letter?
No, because component names must start with a lowercase letter.
Q10: Why use lightning-input instead of a plain input?
Because it gives the Salesforce look, labels and accessibility for free.
Q11: Where do you add the component to a page?
In Lightning App Builder, from the Custom section of the components panel.
Q12: What is event.target?
It is the element that fired the event, such as the input box.
Q13: How do you show a message only when it exists?
Use a conditional directive such as lwc:if, which the next post covers.
Q14: What is the role of apiVersion in the metadata file?
It sets which Salesforce API version the component uses for its behaviour.
Advanced Questions on Your First Lightning Web Component
Q15: Why use template literals for the message?
Because they make it easy to insert values into strings with ${…}.
Q16: Do you need @track for simple fields?
No, because all class fields are reactive for reassignment since Spring ’20.
Q17: How do you test the component quickly without deploying?
Use Jest unit tests locally, which a later post covers.
Q18: Why deploy only one folder while learning?
Because it is faster and avoids errors from unrelated files.
Q19: Can the same component appear on record and home pages?
Yes, so long as the metadata file lists both targets.
Q20: What is the first thing to check when a component does not appear?
First check isExposed and the targets, then check the deployment result.
Q21: How would you extend this component?
For example, add Apex or Lightning Data Service to load real course data.
Official Resources
- Get Started with Lightning Web Components (LWC Developer Guide)
- LWC Best Practices (LWC Developer Guide)
Quick Recap
- Your First Lightning Web Component needs HTML, JavaScript and metadata files.
- Generate bundles with sf lightning generate component.
- Event handlers change class fields, and the screen updates by itself.
- isExposed and targets control App Builder visibility.
- Deploy one folder at a time while learning.
What’s Next?
Next, learn how values, getters and conditions shape the template in our guide to LWC data binding, getters and conditional rendering.