The lightning-record-form component gives you a working record form from a single tag. No Apex, no SOQL and no save logic. For most internal screens that is the whole job done, and it respects field level security automatically.
This post builds on Lightning Base Components and Lightning Data Service. We will build course screens for Bright Path Tutors.
What is lightning-record-form?
The lightning-record-form component renders a record using the page layout, handles edit and save, and shows errors. It sits on top of the User Interface API, which is why it needs no Apex. There are three related components, each giving you more control and more markup.
Think of buying a suit. Record form is off the peg, record-edit-form is made to measure, and building fields by hand is sewing it yourself.
Why lightning-record-form Matters
Most forms are ordinary. Show some fields, let the user edit them, save and report errors. Writing that by hand means Apex, a wrapper, error handling and field security checks.
Using lightning-record-form removes all of it. Because the UI API enforces sharing and field level security, you cannot accidentally expose a field the user should not see.
How lightning-record-form Works
The component talks to the UI API, which handles reading, validation and writing.
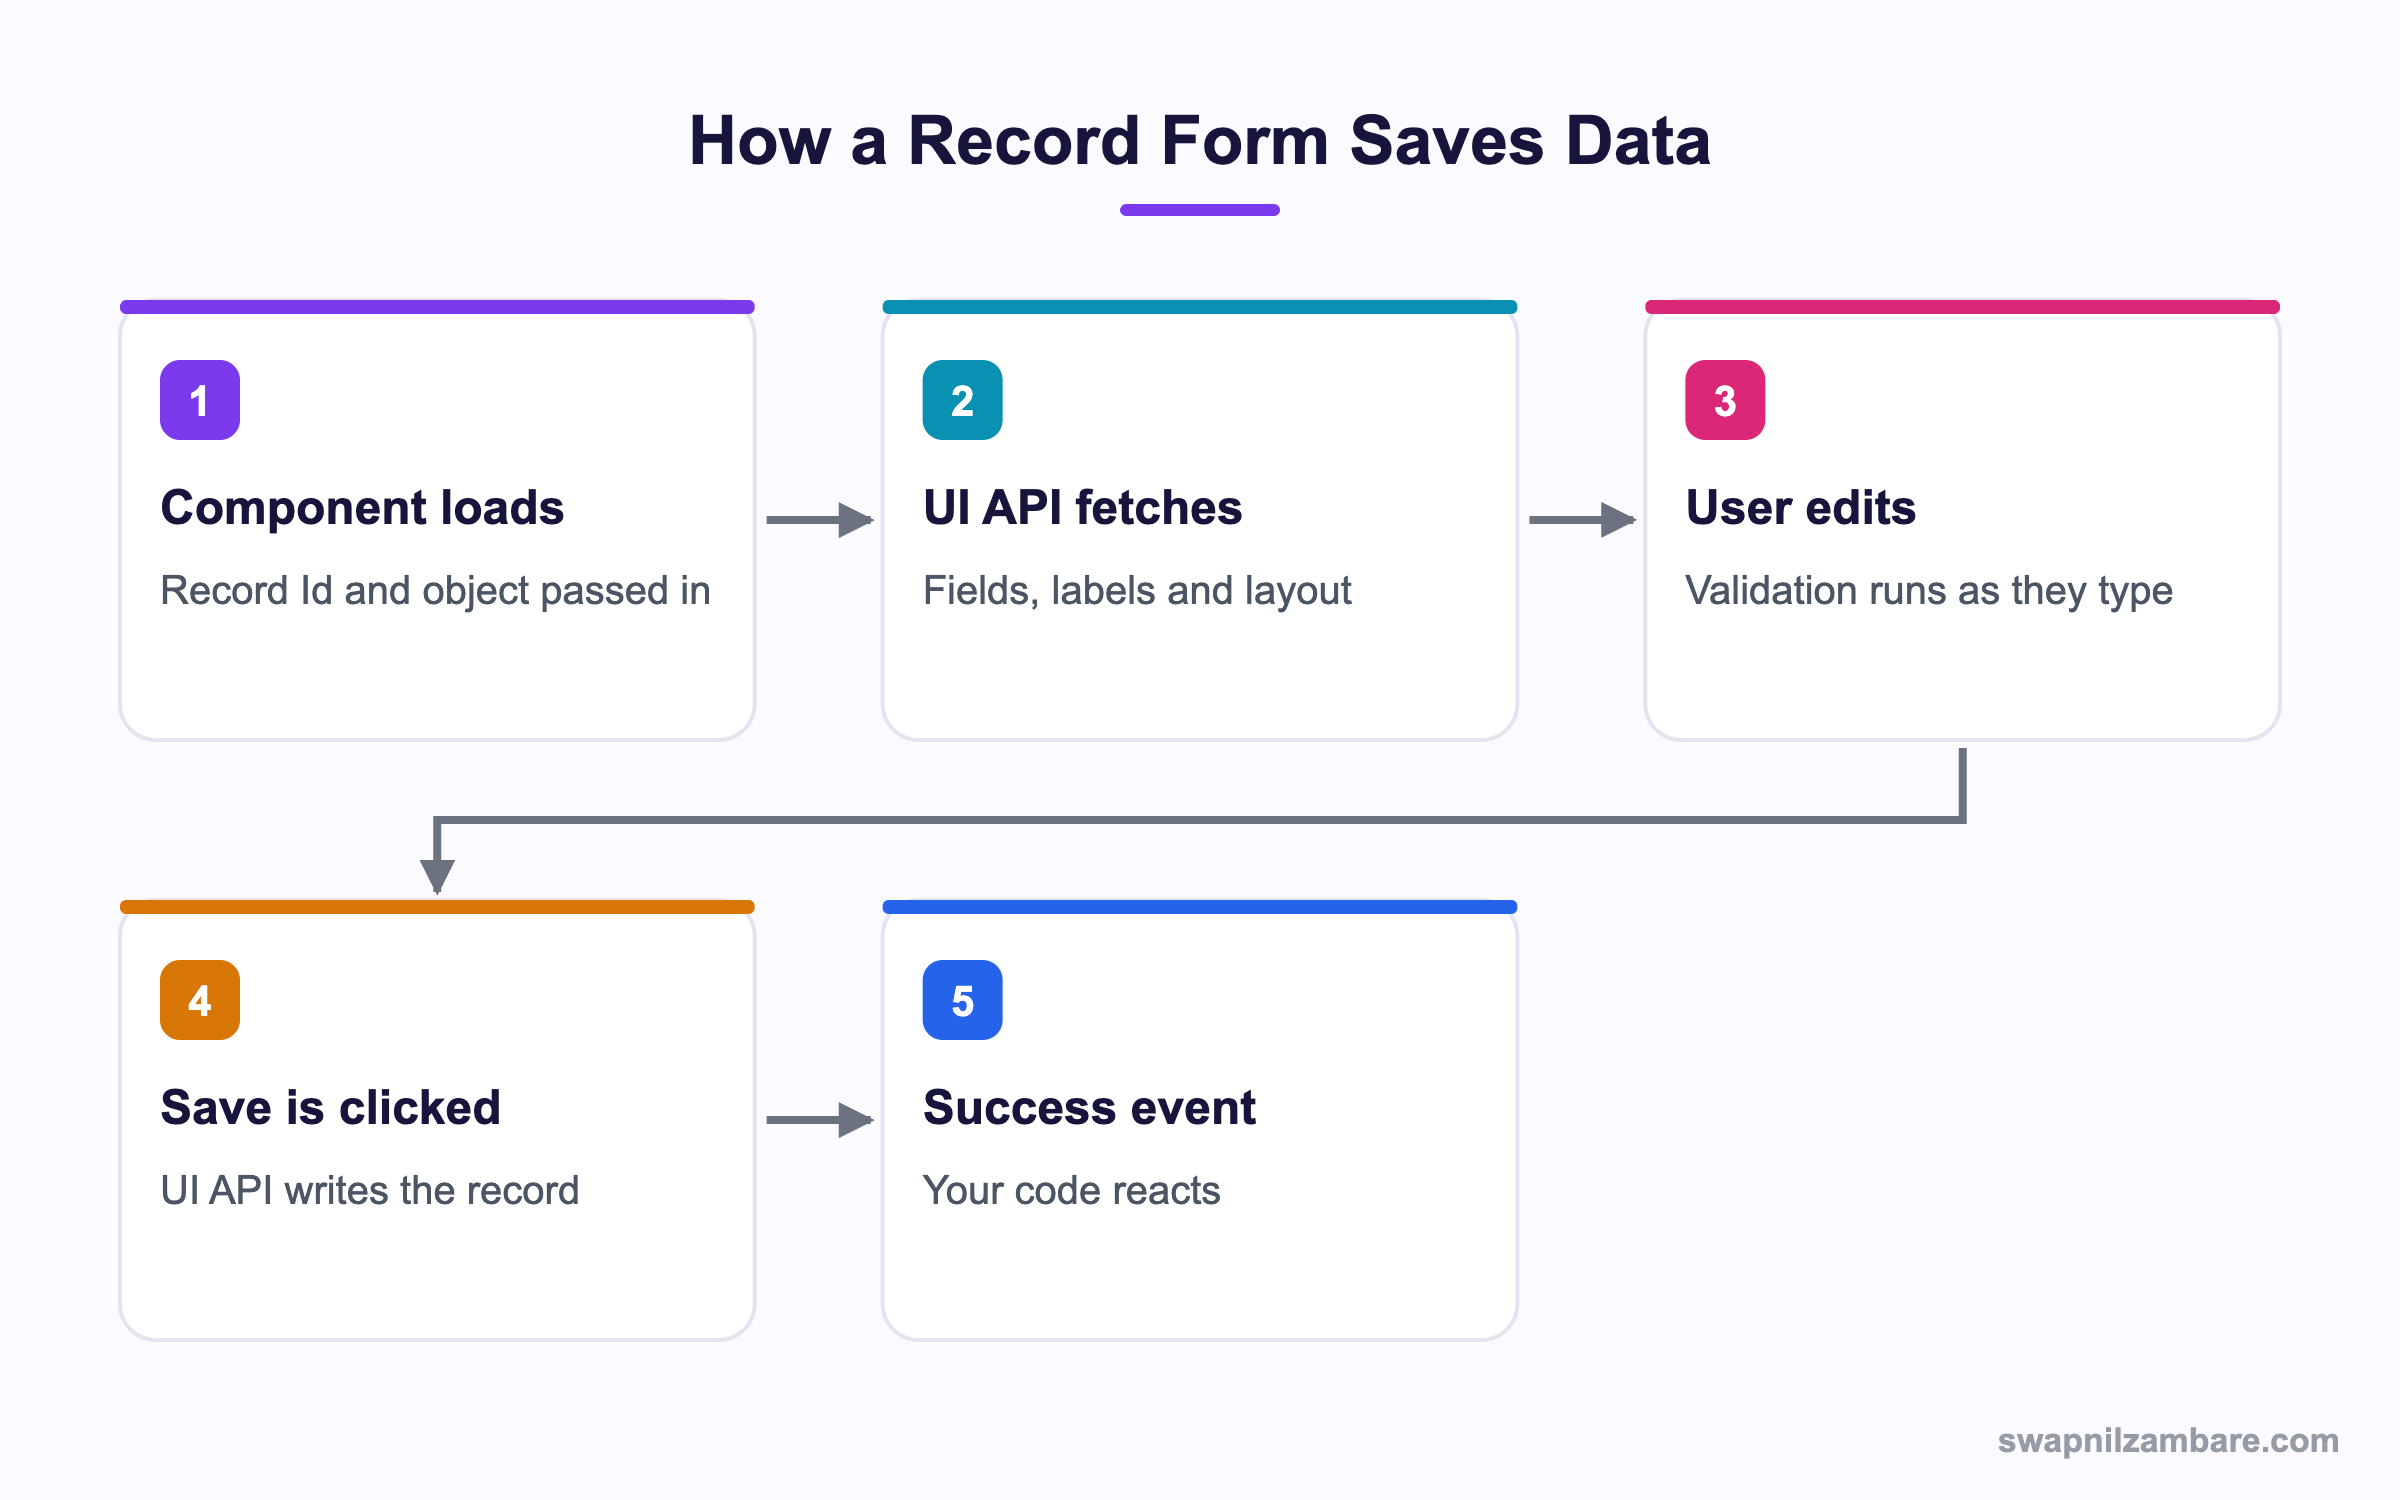
The One Tag Version
<template>
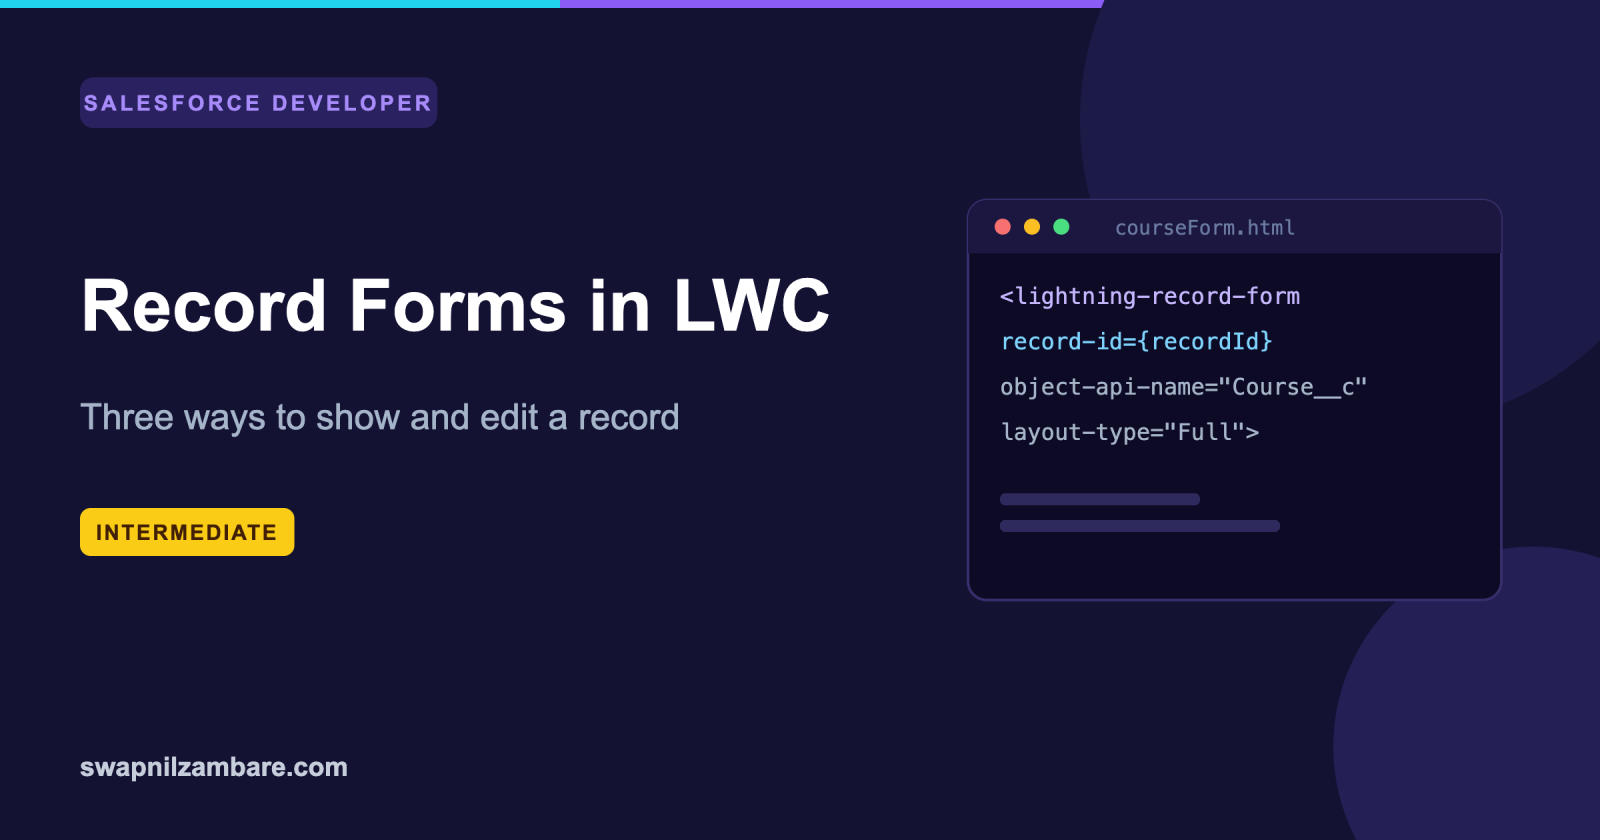
    <lightning-record-form
        record-id={recordId}
        object-api-name="Course__c"
        layout-type="Full"
        mode="view">
    </lightning-record-form>
</template>
That is a complete, working record page. Set mode to edit for an editable form, or readonly to remove the edit pencil.
Choosing Fields Instead of a Layout
<lightning-record-form
    record-id={recordId}
    object-api-name="Course__c"
    fields={fields}
    columns="2"
    mode="edit"
    onsuccess={handleSuccess}>
</lightning-record-form>
import NAME from '@salesforce/schema/Course__c.Name';
import FEE from '@salesforce/schema/Course__c.Fee__c';
import LEVEL from '@salesforce/schema/Course__c.Level__c';
export default class CourseForm extends LightningElement {
fields = [NAME, FEE, LEVEL];
handleSuccess(event) {
console.log('Saved record ' + event.detail.id);
}
}Importing fields from @salesforce/schema gives you a compile time reference. If an admin deletes the field, the deployment fails instead of the page breaking silently.
Creating a New Record with lightning-record-form
Leave out record-id and the form creates a record instead of editing one.
<lightning-record-form
    object-api-name="Course__c"
    fields={fields}
    onsuccess={handleCreated}>
</lightning-record-form>
The same markup therefore serves both a create screen and an edit screen. So one component can be dropped on a record page and on a standalone tab, and it does the right thing in each place.
Taking Control with record-edit-form
When you need a custom layout, move to lightning-record-edit-form and place each field yourself.
<lightning-record-edit-form
    record-id={recordId}
    object-api-name="Course__c"
    onsuccess={handleSuccess}
    onerror={handleError}>

    <lightning-messages></lightning-messages>

    <lightning-layout multiple-rows="true">
        <lightning-layout-item size="12" medium-device-size="6" padding="around-small">
            <lightning-input-field field-name="Name"></lightning-input-field>
        </lightning-layout-item>
        <lightning-layout-item size="12" medium-device-size="6" padding="around-small">
            <lightning-input-field field-name="Fee__c"></lightning-input-field>
        </lightning-layout-item>
    </lightning-layout>

    <lightning-button
        type="submit"
        variant="brand"
        label="Save course">
    </lightning-button>
</lightning-record-edit-form>
lightning-messages displays server errors. Without it, a validation rule failure shows nothing to the user.
Read Only Display with record-view-form
<lightning-record-view-form record-id={recordId} object-api-name="Course__c">
    <lightning-output-field field-name="Name"></lightning-output-field>
    <lightning-output-field field-name="Fee__c"></lightning-output-field>
</lightning-record-view-form>
This version never saves, so it suits summary panels and printable views. Because the UI API still supplies labels and formatting, a currency field shows its symbol and a date respects the user locale. You also keep field level security without writing a single check.
Attribute Reference
This table lists the attributes you set most often.
| Attribute | Purpose |
|---|---|
| record-id | The record to load, omit to create |
| object-api-name | Which object the form is for |
| layout-type | Full or Compact, from the page layout |
| fields | An explicit list instead of a layout |
| columns | How many columns to render |
| mode | view, edit or readonly |
| density | comfy or compact spacing |
| onsuccess | Fires after a successful save |
| onerror | Fires when the save fails |
The Three Components Compared
This table shows the trade-off between speed and control.
| Feature | record-form | record-edit-form | record-view-form |
|---|---|---|---|
| Editing | Yes | Yes | No |
| Markup needed | One tag | Each field | Each field |
| Custom layout | No | Yes | Yes |
| Built in buttons | Yes | No | Not needed |
| Best for | Fast standard forms | Custom edit screens | Read only displays |
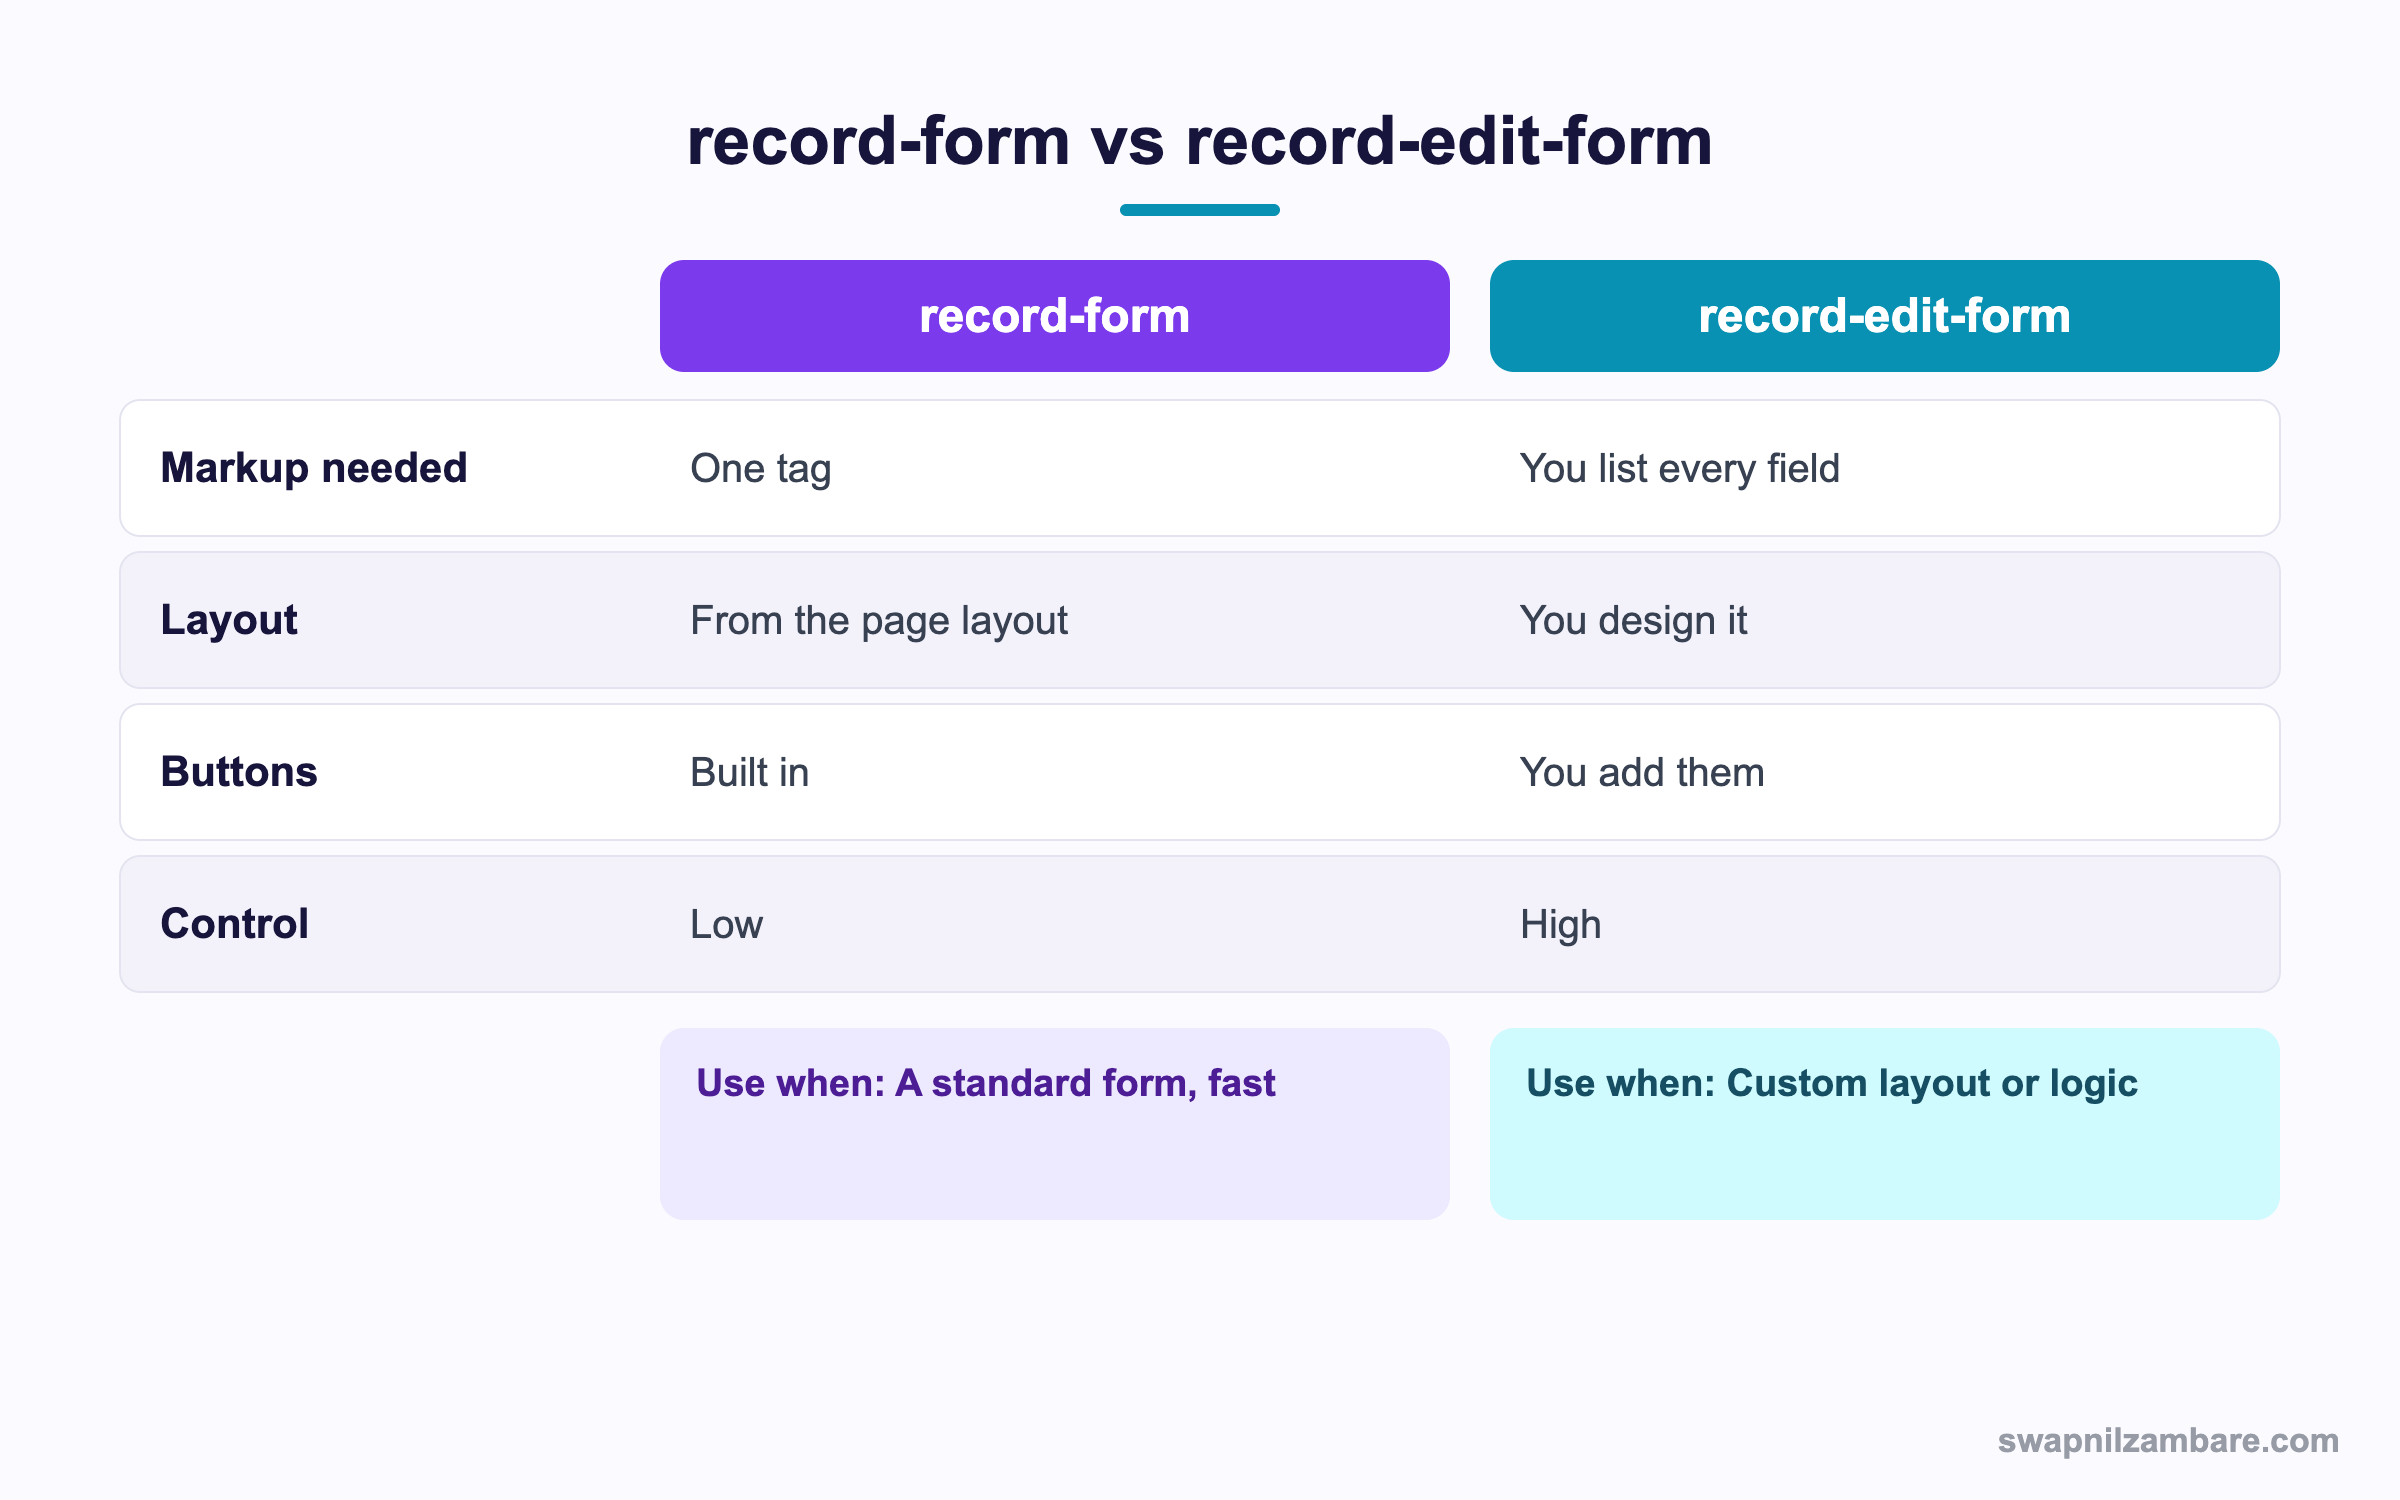
In short, start with record-form. Move to record-edit-form only when the layout or logic demands it.
A Real lightning-record-form Example
Bright Path wants a quick edit panel on the Course page. It should show four fields, save inline, and show a toast when it succeeds.
Step 1: The Template
<template>
    <lightning-card title="Quick edit">
        <div class="slds-var-m-around_medium">
            <lightning-record-form
                record-id={recordId}
                object-api-name="Course__c"
                fields={fields}
                columns="2"
                mode="edit"
                onsuccess={handleSuccess}
                onerror={handleError}>
            </lightning-record-form>
        </div>
    </lightning-card>
</template>
Step 2: The JavaScript
import { LightningElement, api } from 'lwc';
import { ShowToastEvent } from 'lightning/platformShowToastEvent';
import NAME from '@salesforce/schema/Course__c.Name';
import FEE from '@salesforce/schema/Course__c.Fee__c';
import LEVEL from '@salesforce/schema/Course__c.Level__c';
import START from '@salesforce/schema/Course__c.Start_Date__c';

export default class CourseQuickEdit extends LightningElement {
    @api recordId;
    fields = [NAME, FEE, LEVEL, START];

    handleSuccess() {
        this.dispatchEvent(new ShowToastEvent({
            title: 'Saved',
            message: 'Course updated',
            variant: 'success'
        }));
    }

    handleError(event) {
        this.dispatchEvent(new ShowToastEvent({
            title: 'Could not save',
            message: event.detail.message,
            variant: 'error'
        }));
    }
}
The @api recordId decorator is what lets App Builder pass the current record into your component.
Step 3: Expose It
<targets>
    <target>lightning__RecordPage</target>
</targets>
Adding that to the meta XML lets an admin drag the component onto the Course record page.
These are the events you can handle.
| Event | Fires when |
|---|---|
| onsuccess | The record saved, detail holds the id |
| onerror | The save failed, detail holds the message |
| onload | Record data finished loading |
| onsubmit | Before the save, lets you change fields |
Common Mistakes with lightning-record-form
- Forgetting lightning-messages, so validation errors show nothing.
- Expecting onsubmit changes to work without calling preventDefault first.
- Using record-form when the design needs a custom layout.
- Hard coding field names as strings instead of importing from schema.
- Assuming it works for every object, when some are not UI API supported.
Best Practices for lightning-record-form
- Import field references from @salesforce/schema, never plain strings.
- Use layout-type Full so admins control the fields.
- Add lightning-messages to every record-edit-form.
- Show a toast on success so the user knows it saved.
- Check UI API support for the object before you build.
Practice Task
Build a component that creates a new Course record with three fields and shows a toast on success. Hint: leave record-id out of the tag.
Most Asked lightning-record-form Interview Questions
These lightning-record-form questions come up in most LWC interviews.
Basic lightning-record-form Interview Questions
Q1: What does lightning-record-form do?
The lightning-record-form component renders a record, handles edit and save, and needs no Apex because it uses the UI API.
Q2: What are the three form components?
They are lightning-record-form, lightning-record-edit-form and lightning-record-view-form.
Q3: What are the modes?
The lightning-record-form modes are view, edit and readonly. View shows an edit pencil, while readonly does not.
Q4: How do you create a record instead of editing one?
Leave out the record-id attribute, and then the form switches to create mode.
Q5: What does layout-type do?
It renders fields straight from the page layout, either Full or Compact.
Q6: Which event tells you the save worked?
onsuccess, whose detail contains the new record id.
Q7: Do these components need Apex?
No. They go through the UI API, which handles reading and writing.
Q8: How does the component know the current record?
Through an @api recordId property that App Builder populates.
Intermediate lightning-record-form Interview Questions
Q9: Why import fields from @salesforce/schema?
Because it creates a real dependency, so deleting the field fails the deployment rather than breaking the page quietly.
Q10: What is lightning-messages for?
It renders server errors inside a record-edit-form. Without it, validation failures are invisible.
Q11: How do you change a value before saving?
Handle onsubmit, call preventDefault, change the fields, then call submit on the form.
Q12: Does the UI API respect field level security?
Yes. Fields the user cannot see are simply not returned or rendered.
Q13: When would you use record-view-form?
For a read only display where you still want field labels, formatting and security handled for you.
Q14: What is the difference between record-form and record-edit-form?
Record-form gives a finished form in one tag. Record-edit-form gives you control over layout and buttons, at the cost of more markup.
Q15: Can you use these in a Flow screen?
Yes, if the component targets lightning__FlowScreen in its meta XML.
Q16: What does density control?
The spacing of the form, either comfy or compact.
Advanced lightning-record-form Interview Questions
Q17: Scenario: a field must default based on another field. How?
Handle onsubmit, prevent the default, adjust the fields object and submit it yourself.
Q18: Which objects are not supported?
Objects outside UI API support, including some setup and metadata objects. So check the support list before designing.
Q19: How do you handle a record page and a create page in one component?
Pass record-id conditionally. When it is undefined the same markup creates a record instead.
Q20: Scenario: the form saves but a related record must update too. What do you do?
Handle onsuccess and call an Apex method for the related work, or move the whole save into Apex with record-edit-form.
Q21: Why might record-form be the wrong choice for a wizard?
Because it saves on each step. A wizard usually needs the record created once at the end, so manage the data yourself.
Q22: How does caching work here?
Lightning Data Service caches the record, so other components showing it refresh automatically after a save.
Q23: How do you test these components?
With Jest, mocking the UI API modules, plus manual testing of the save path against real validation rules.
Q24: What is the performance advantage over Apex?
The record is cached and shared across components, so repeated views do not hit the server again.
Q25: Can lightning-record-form show related records?
No, it works on one record. So use a datatable or a related list component beside it for children.
Q26: Does lightning-record-form fire triggers?
Yes. The save is a normal DML operation, so triggers, flows and validation rules all run as usual.
Q27: How do you make some fields read only?
Use record-edit-form and swap those fields to lightning-output-field. Alternatively, control it with field level security.
Q28: Scenario: the form shows fewer fields than expected. Why?
Field level security is hiding them for that user. Because the UI API enforces access, this is working as designed.
Q29: Is lightning-record-form suitable for an Experience Cloud site?
Yes, and guest or portal access is still enforced. However, always test as the external user before launch.
Official Resources
- Component Reference: lightning-record-form
- LWC Guide: Work with Records
- Salesforce Developers: User Interface API
Quick Recap
- lightning-record-form builds a working form from one tag.
- record-edit-form adds layout control, record-view-form is read only.
- Import field references from @salesforce/schema.
- Add lightning-messages so errors are visible.
- The UI API enforces sharing and field level security for you.
What’s Next?
Next, we handle large tables with lightning-datatable advanced features.